Printmaking has been around for centuries and has a rich and lengthy history. According to the Encylopedia Britannica, The earliest known woodblock print originated in China in 868, with an authentically dated scroll of the Diamond Sutra, found in a cave in Turkistan.
Printmaking is an artistic process in which an image, or matrix, is pressed, stamped, or transferred to onto another surface like paper or fabric to make a print, or impression. A matrix can be made from a variety of materials like wood, metal, linoleum, or concrete. My Art Enthusiasts, ages 7-9, tried their hand at printmaking this Fall. We chose foam sheets as the substrate for our images. These materials listed below are not expensive, and are safe for your tween to use at home.
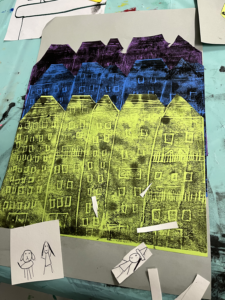
Relief printing offers young artists the ability to produce multiple prints from one plate, and hours of active learning and fun.
Materials needed:
Foam sheet 8×10″
ballpoint pen
black tempura paint
3 sheets of 9×12″ colored paper
1 sheet of white paper 9×12″
Yes! Paste or Elmer’s ALL glue
12 HOURS | Intermediate/Advanced
Ages 9+
How We Did It
There are so many benefits to exploring the art of printmaking. Students develop planning skills, and the ability to produce multiple prints from one plate using a sequence of steps throughout the process. These were the steps we took:
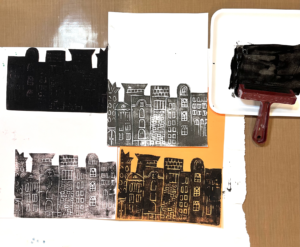
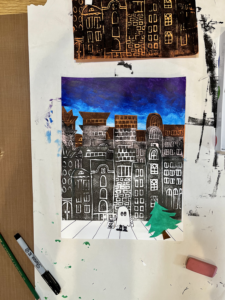
- We began our project by sketching a row of buildings that spread the entire width of the paper.
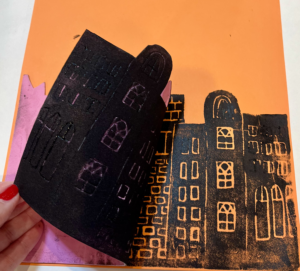
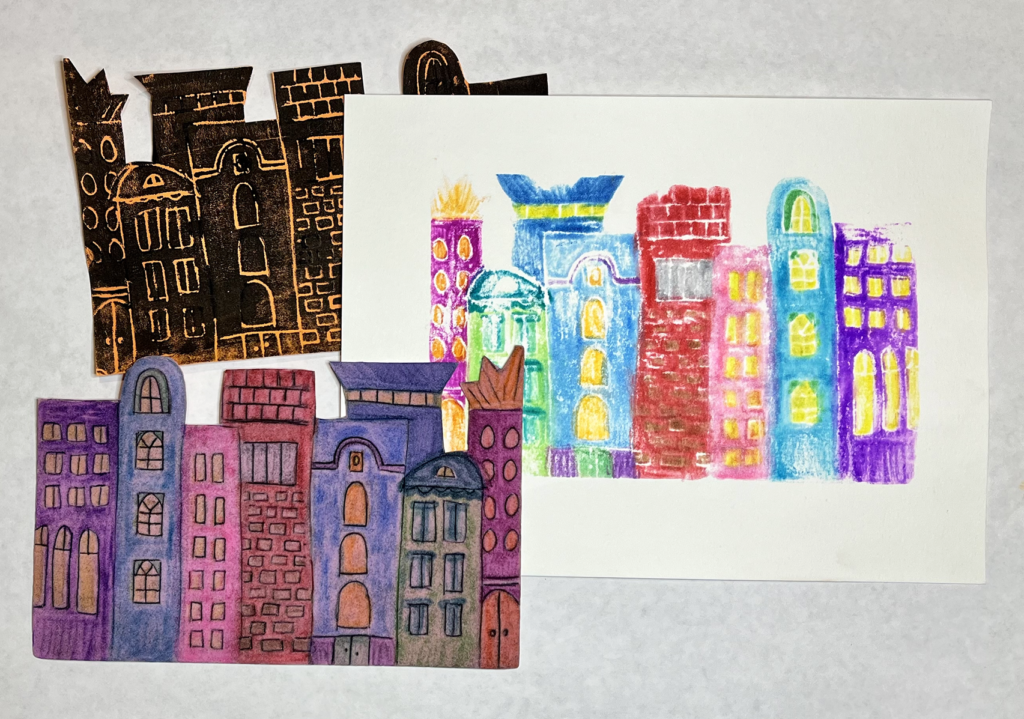
- Next, artists sketched or transferred their drawings to an 8 x 10” sheet of foam, and gently retraced the drawing with a ballpoint pen. This technique deepened the impression of their drawing, but they were careful not to press hard enough to rip through the foam.
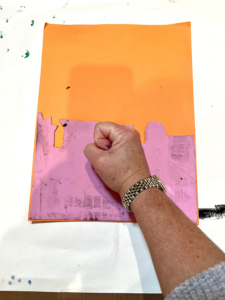
- They rolled out printers ink (black tempura paint can be substituted) on a foam tray using a brayer, a hard rubber or plastic tool like a paint roller for walls. (our favorite is linked here). Students coated their brayers carefully and evenly.