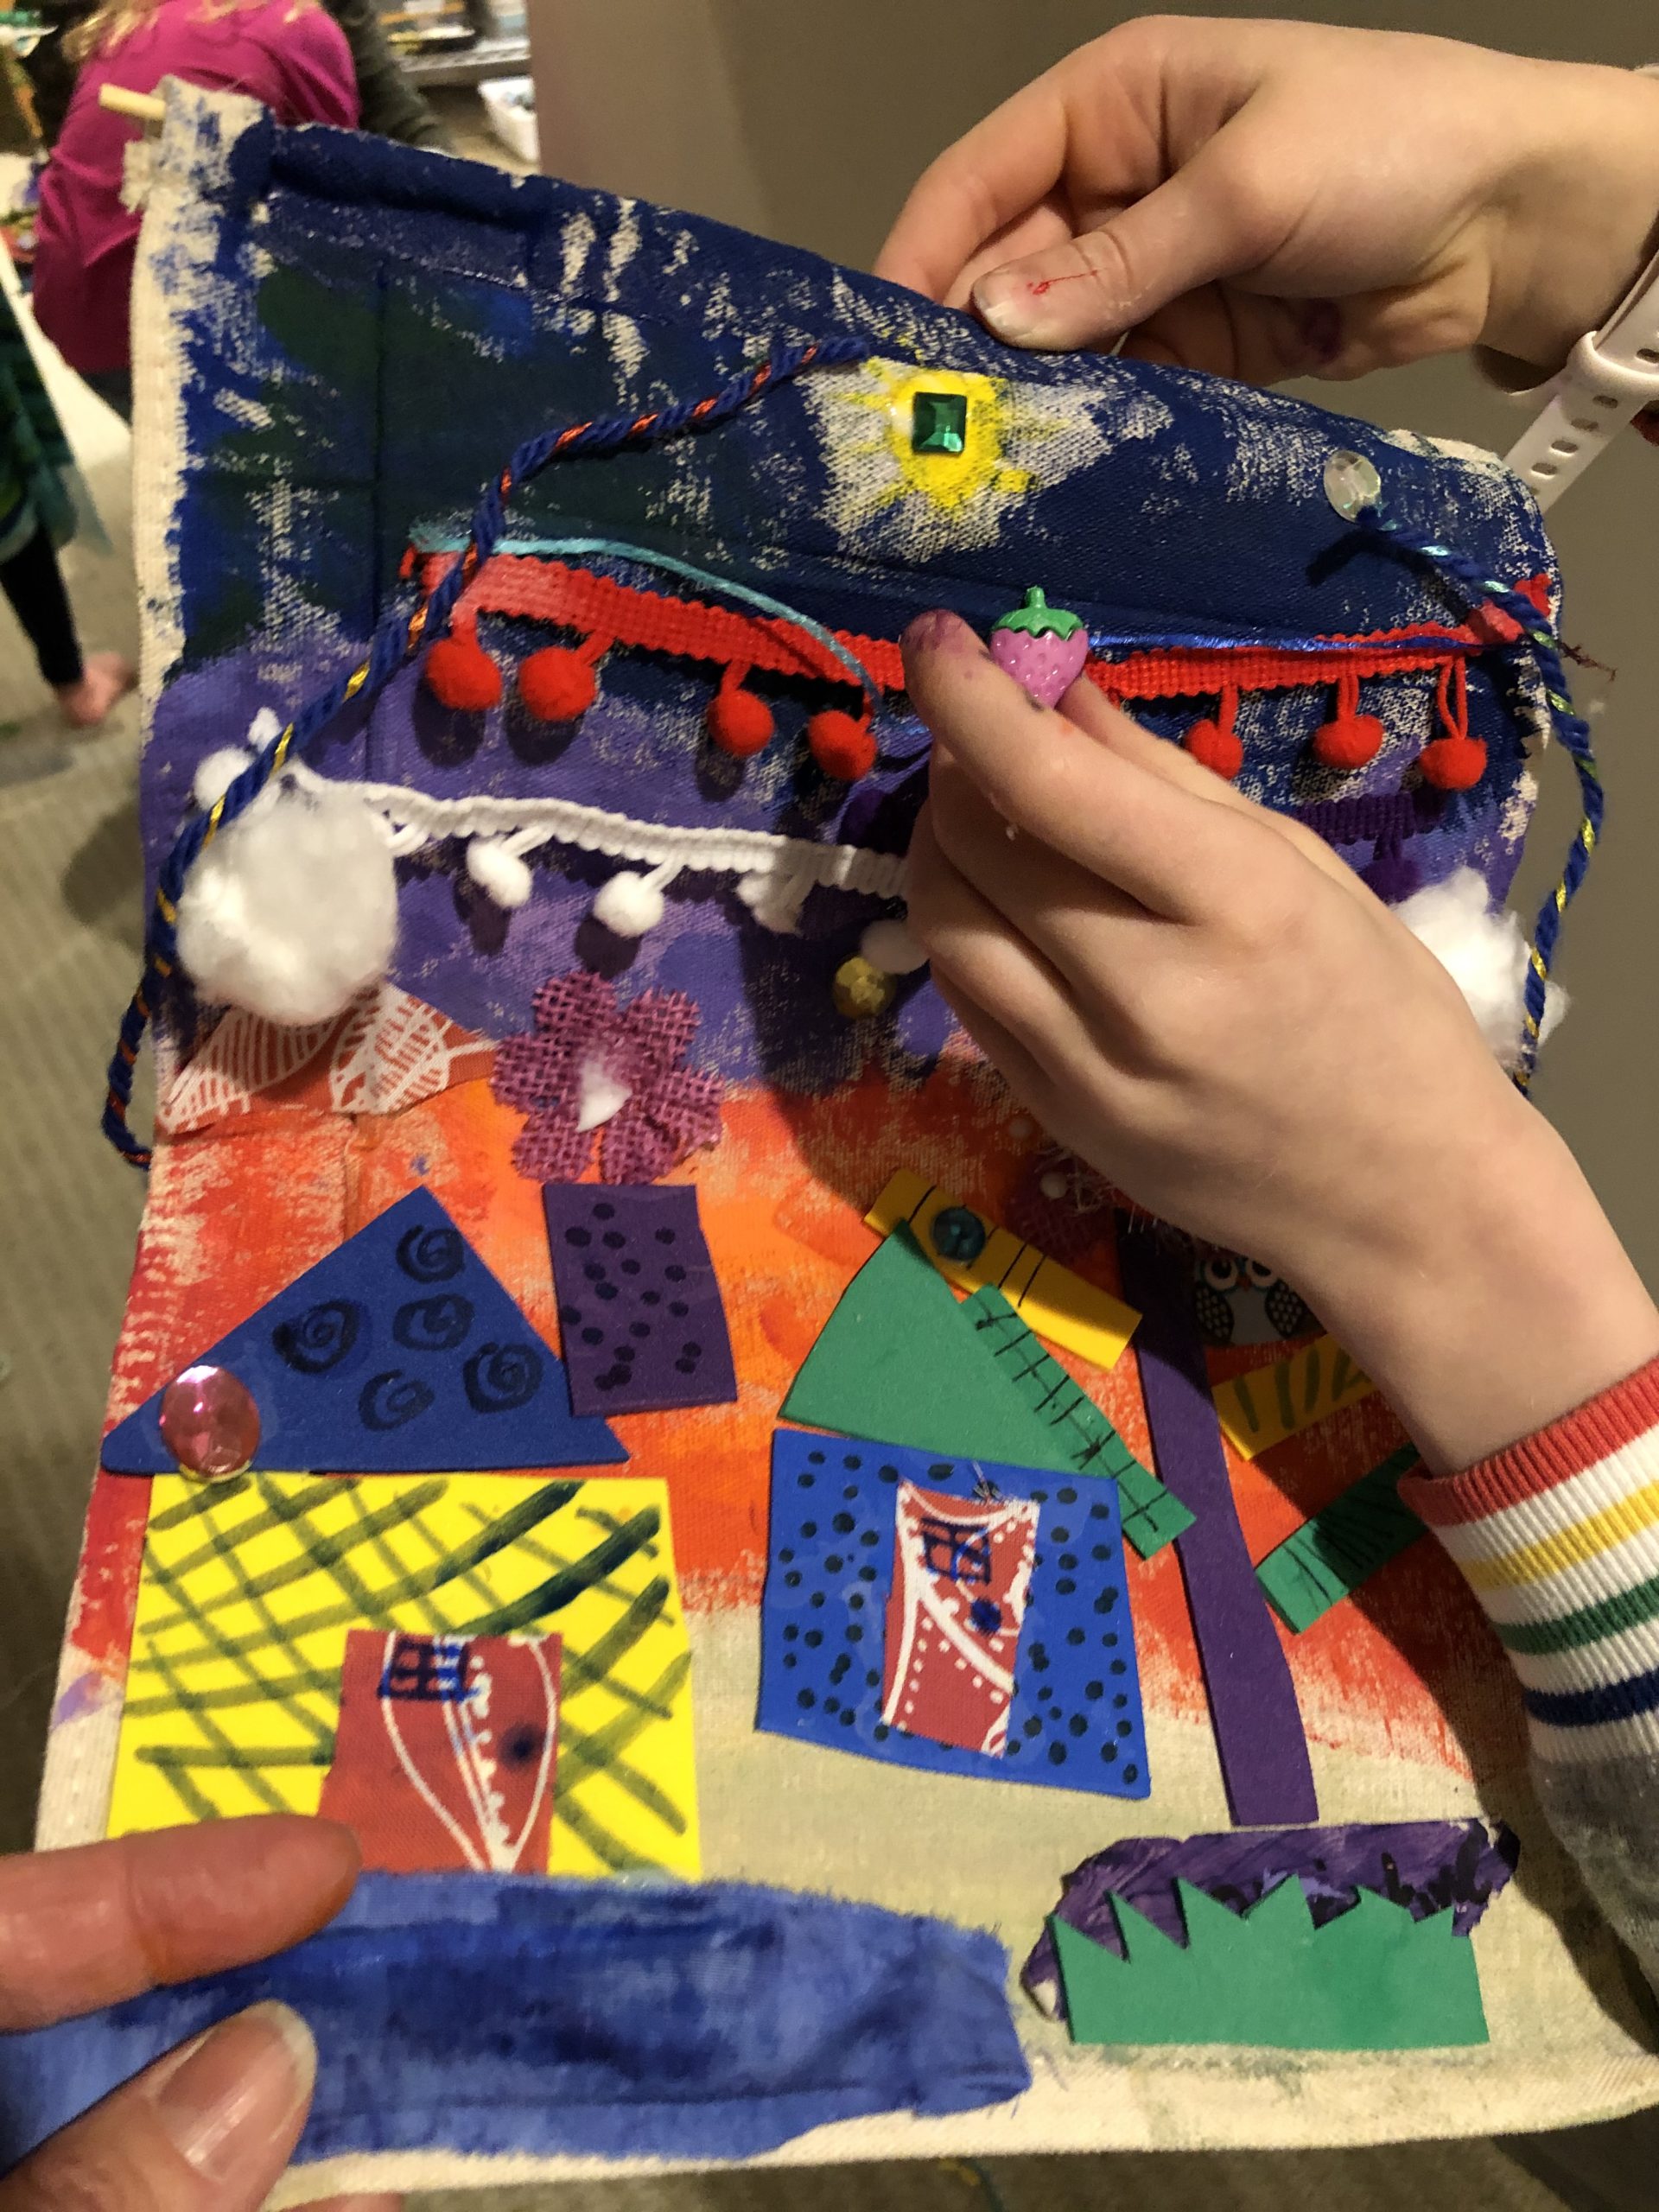
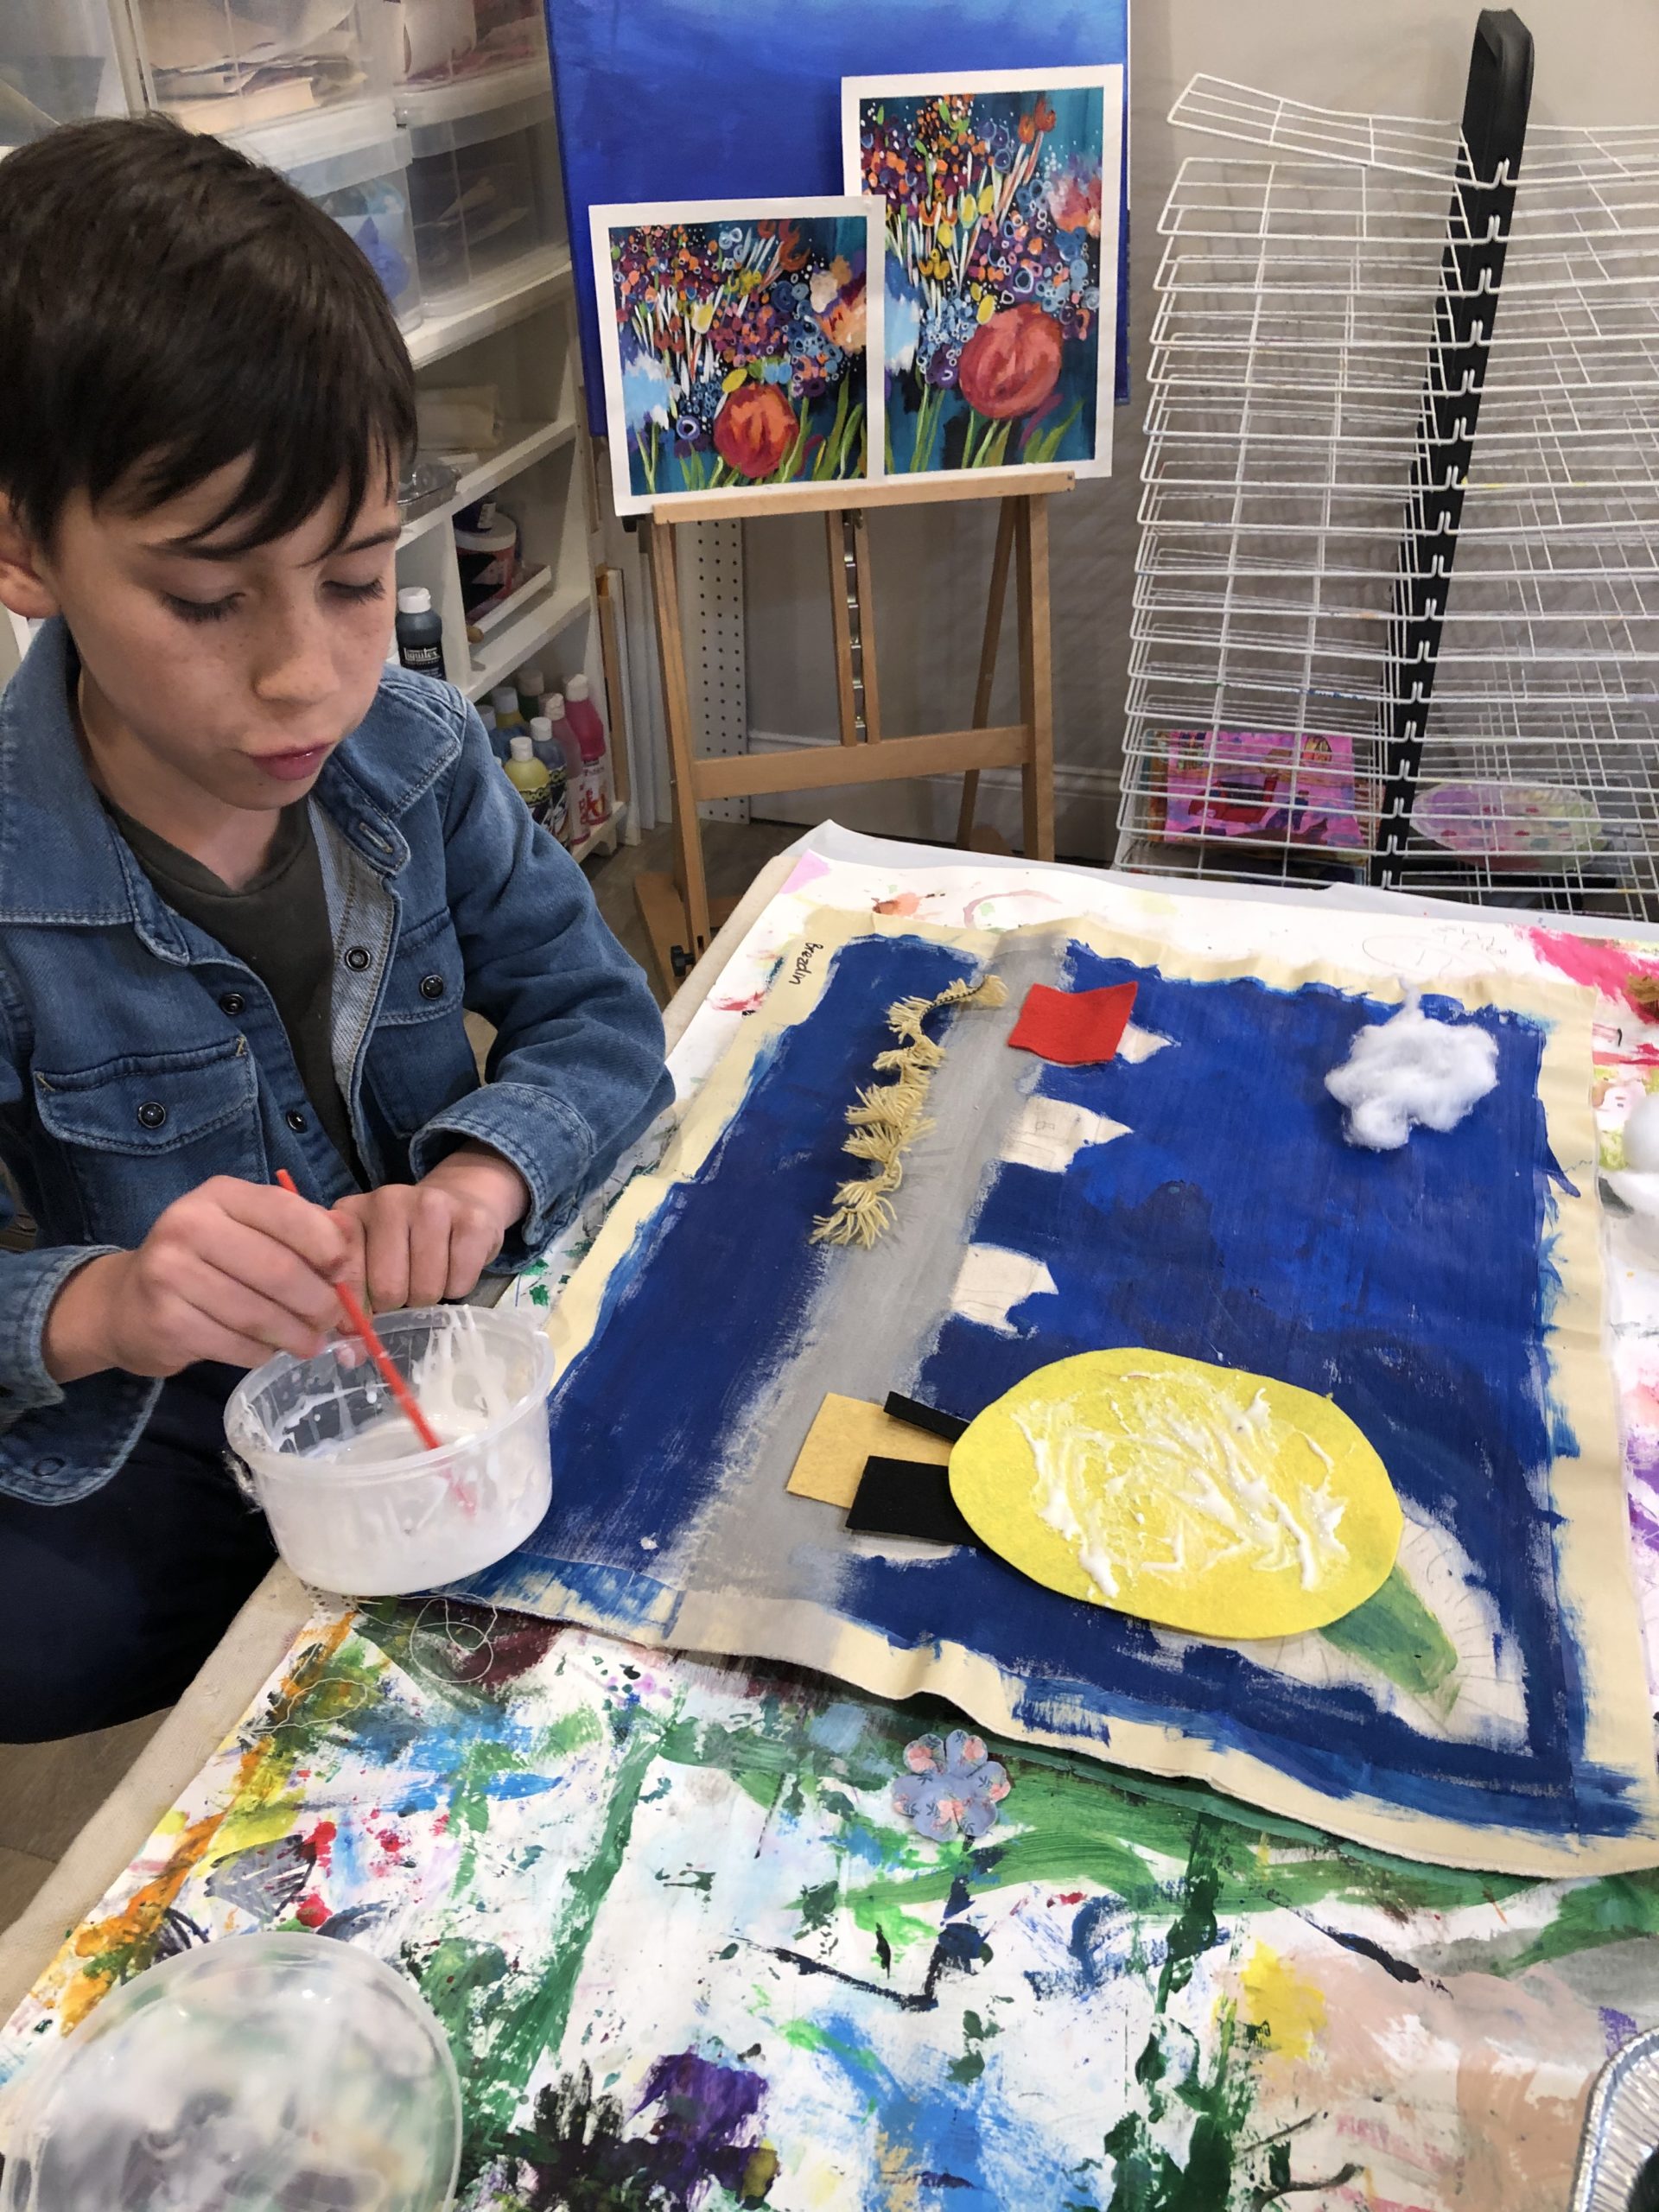
Canvas/muslin/burlap backing, acrylic paint, fabric, felt, pom poms, cotton balls, Tacky Glue for fabric, scissors
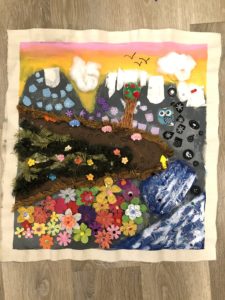
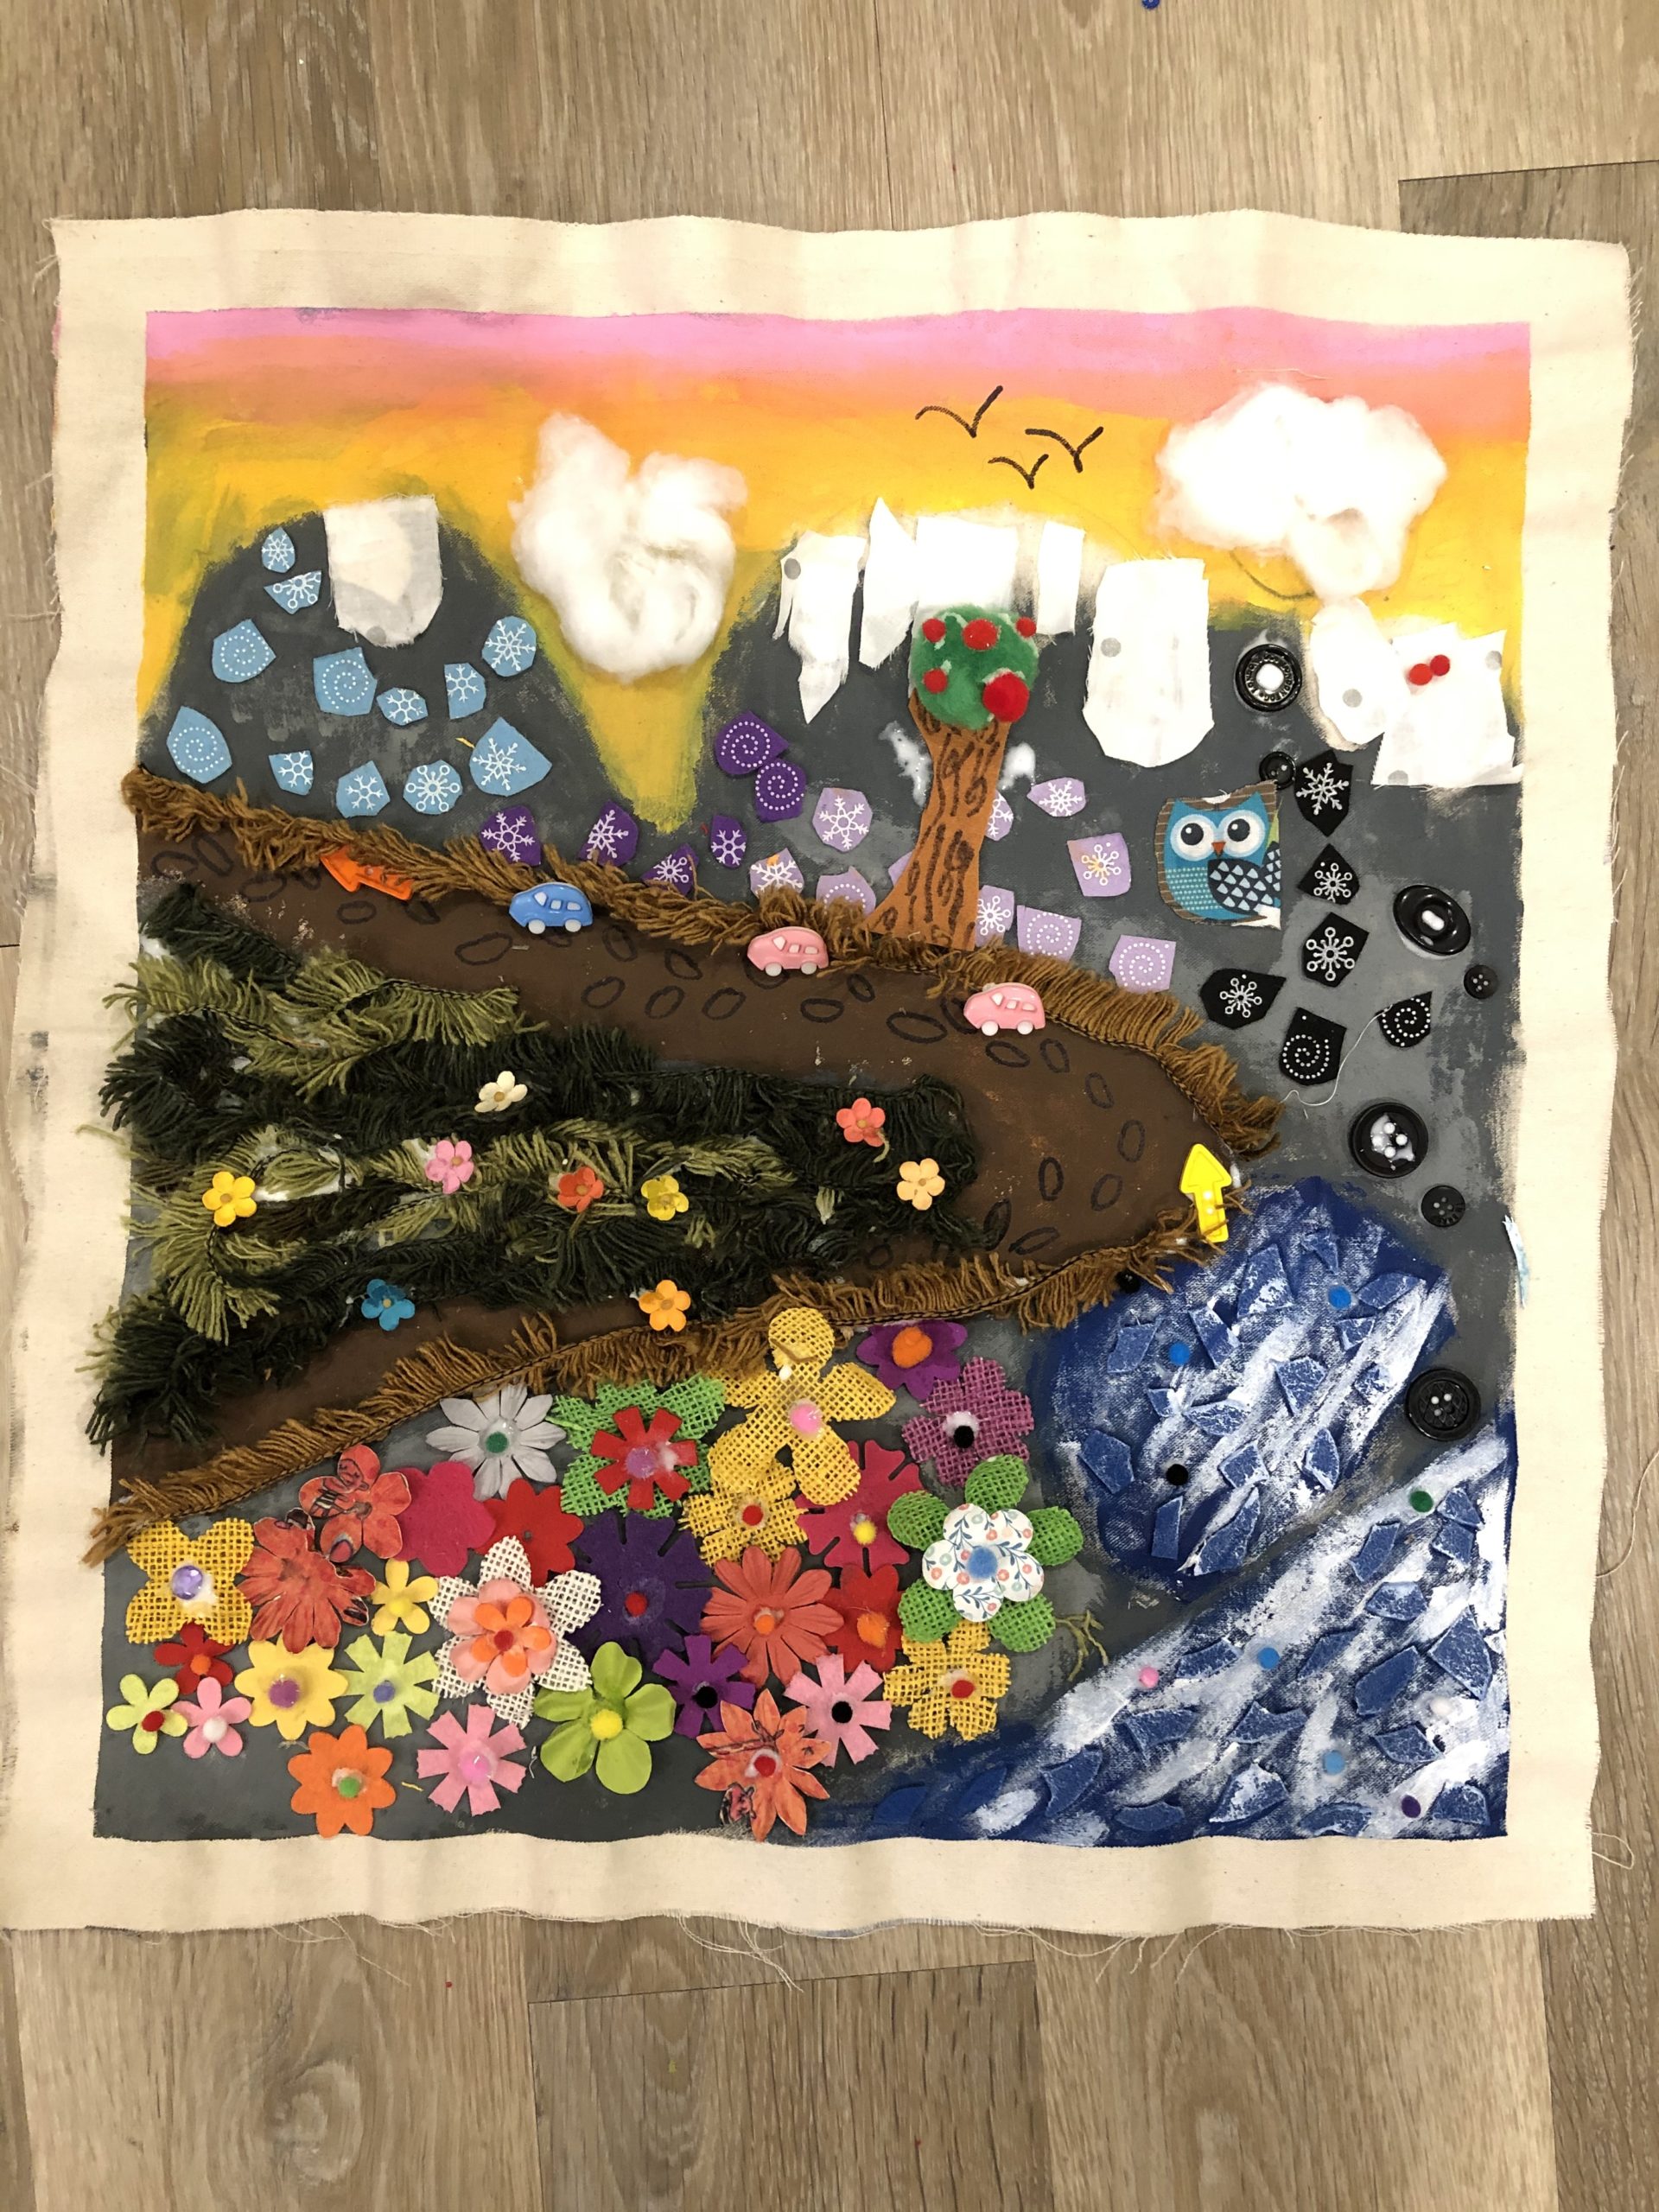
Many of the colorful arpilleras that are made today come from Peru, or other South American countries that have experienced similar oppression. They are very colorful, and reflect tranquil pastoral scenes of rural life in the Andes mountains. Artists use layering and texture in their designs, with paint and fabrics, to tell their stories by quilting and appliqué work into large, beautiful quilts.
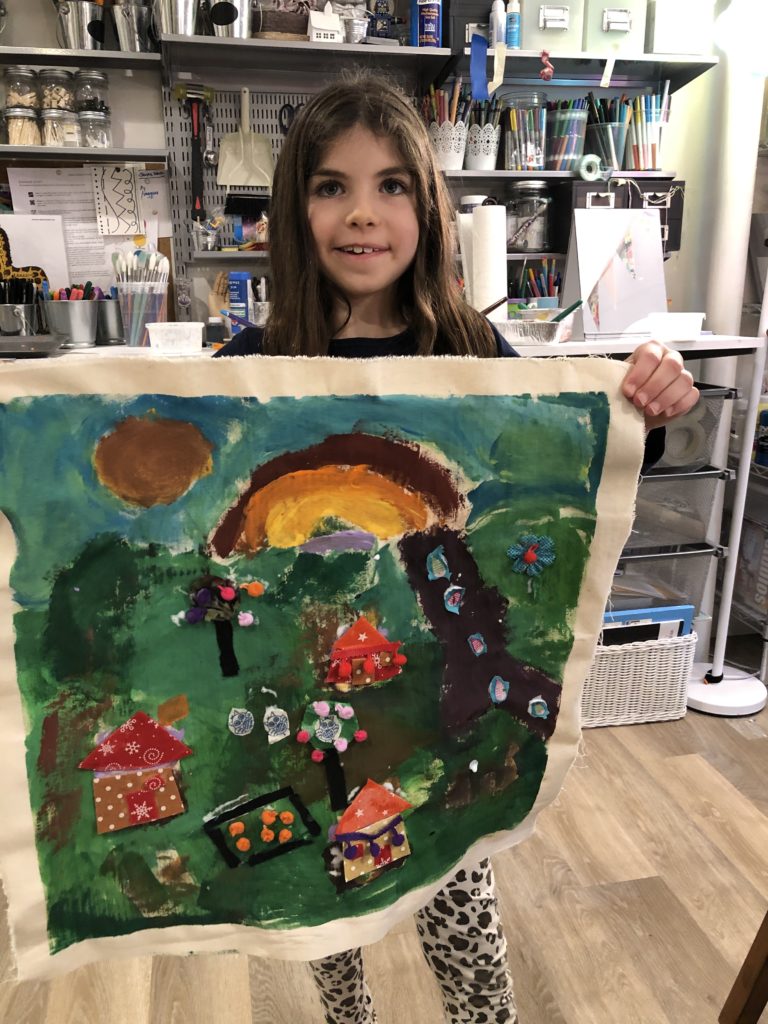
My friend had purchased one from Columbia (pictured above, left), where she has family. When I saw it in person, I knew I had to incorporate a similar type of project into my Folk Art session that year. My friend graciously volunteered to the bring the arpillera to my Lunch Bunch of K-2nd grade artists, where they were able to get a close-up look at its beauty and detail.
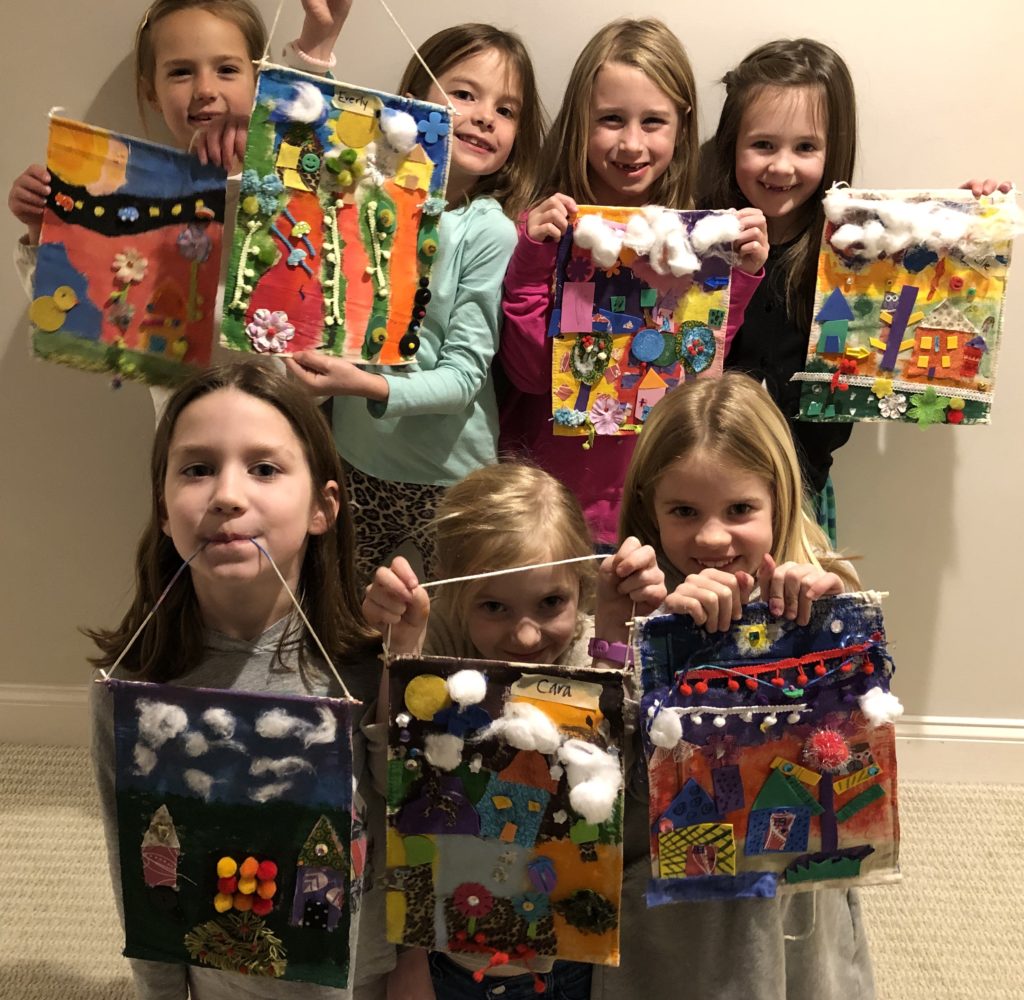
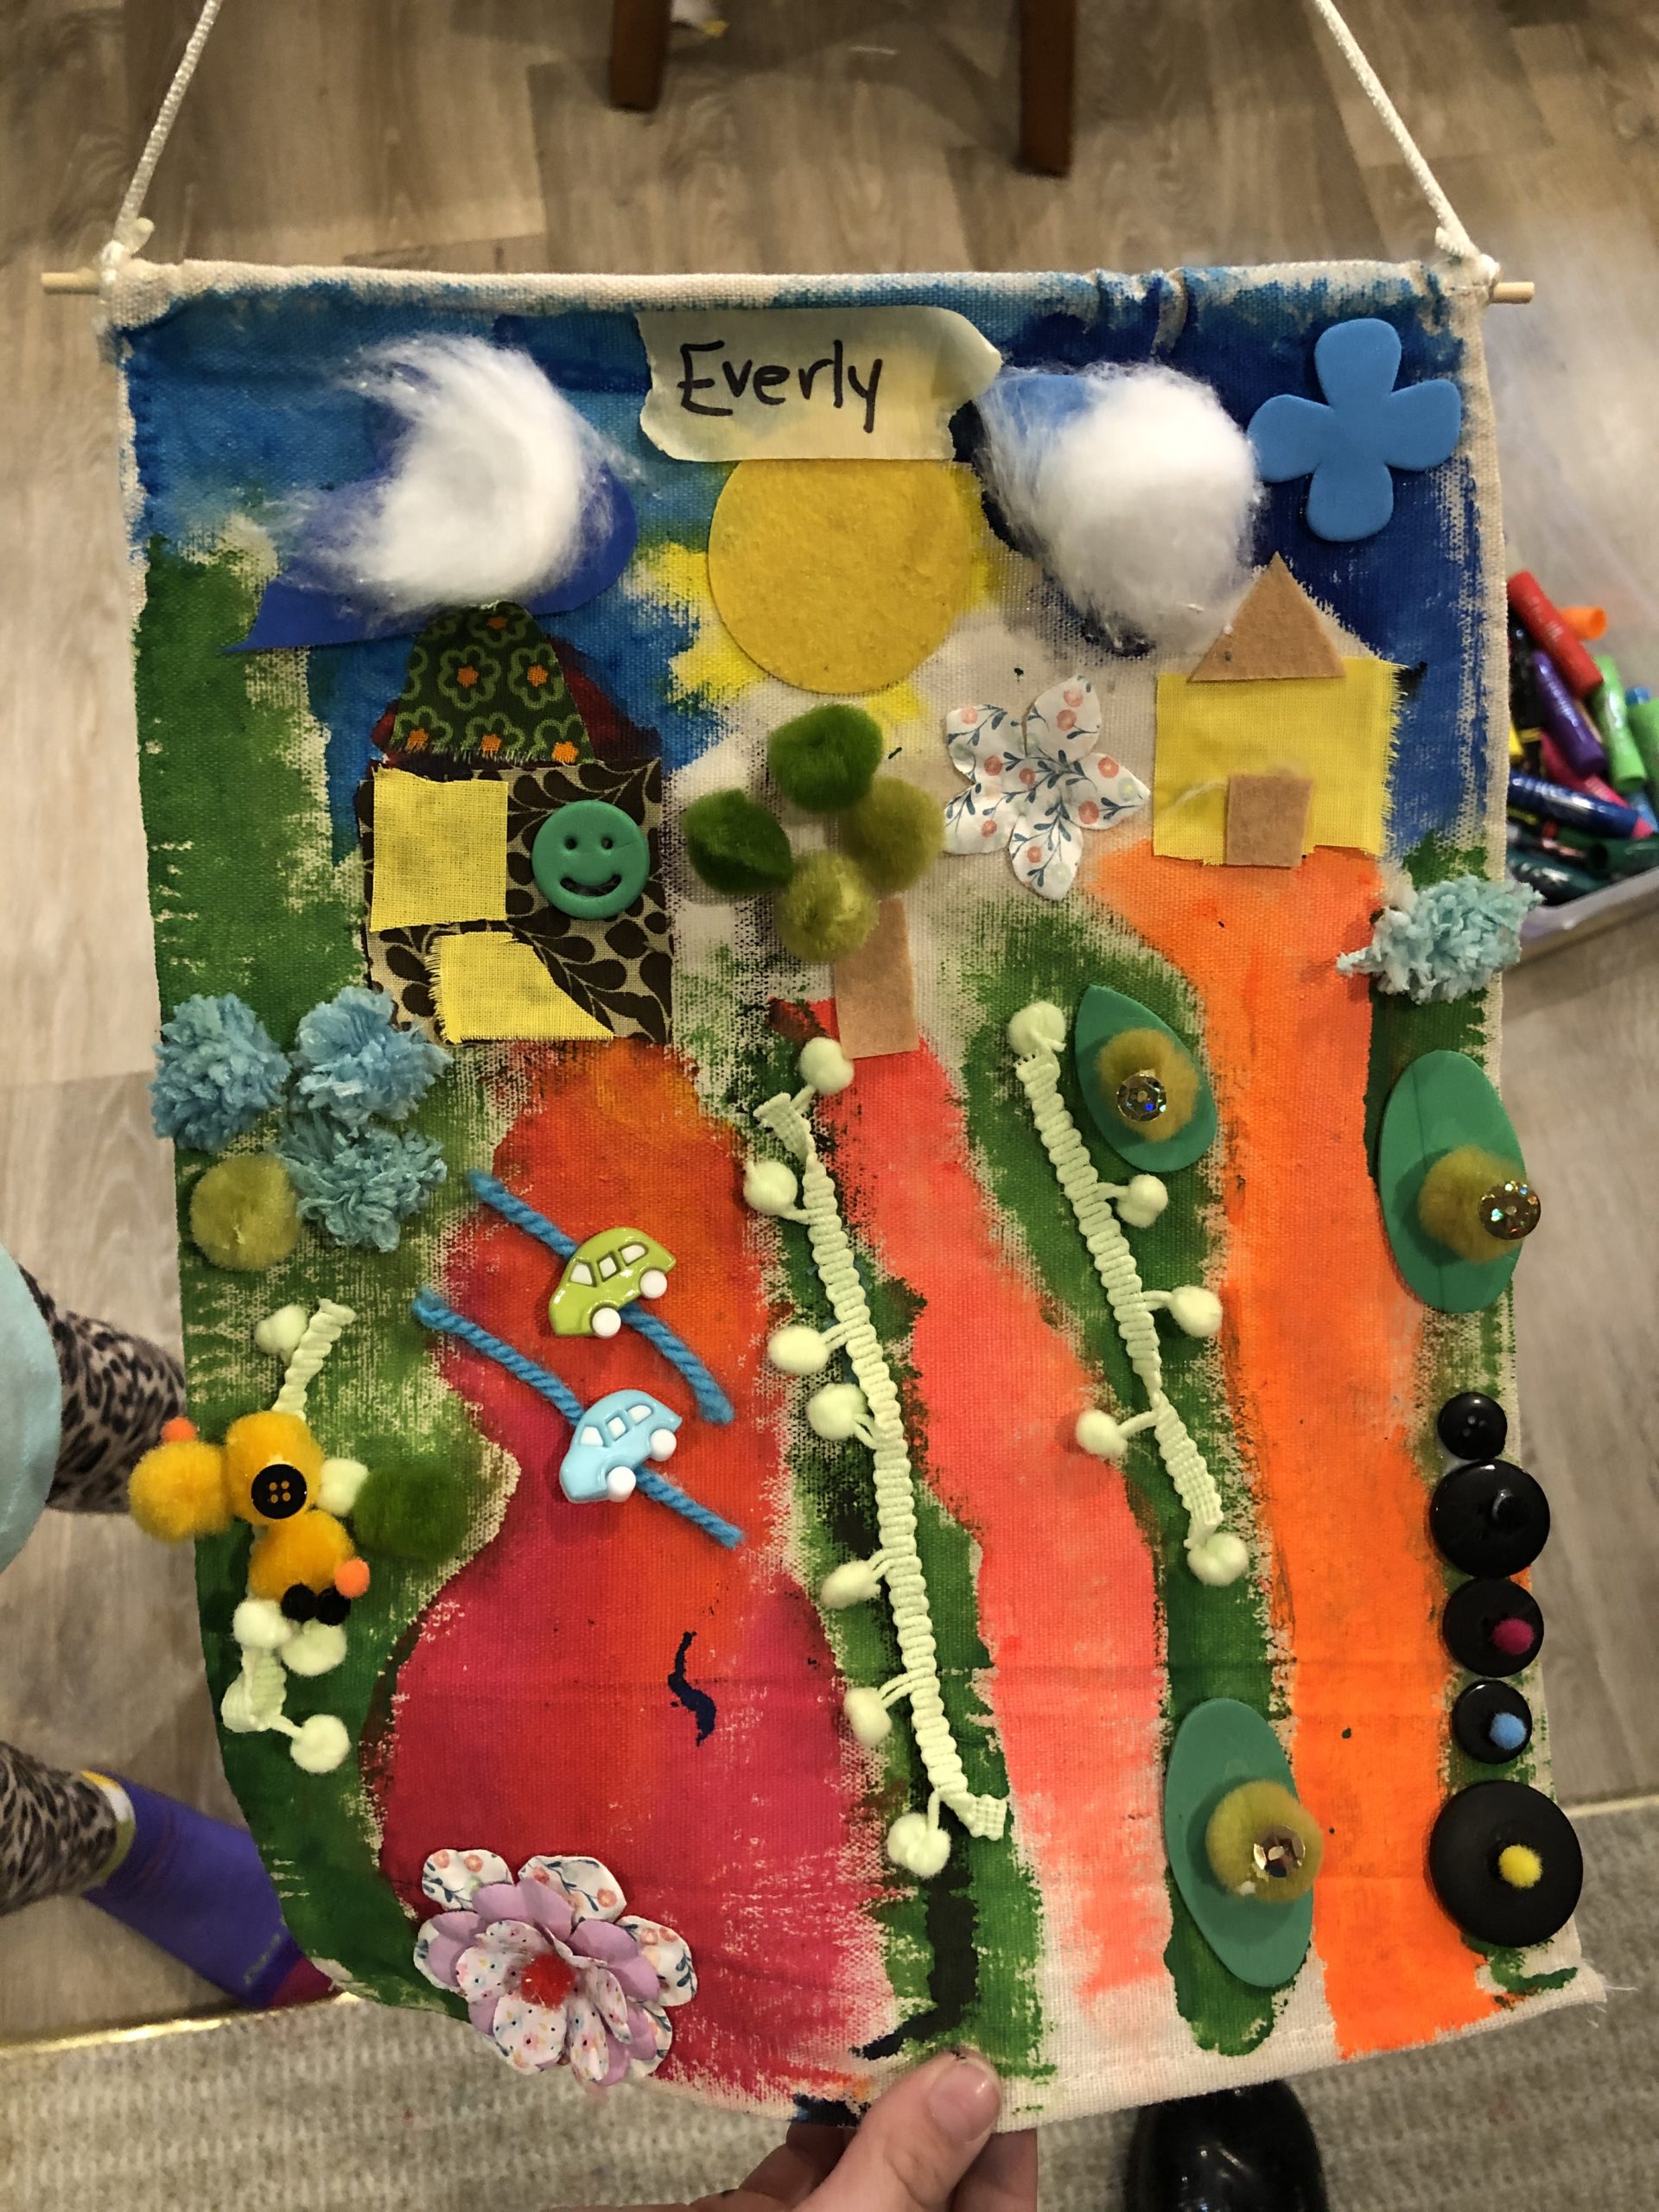
1. OBSERVATION What’s going on in this image? One of the first things my little artists noticed was the number of little pictures on this large material that looked like a blanket. They talked about the colors and shapes they could see. They listed the animals, people, buildings, vehicles and natural elements like weather, trees, grass, a pond and mountains. They were able to infer what was happening with the people, whether they were driving, planting, farming, or playing. They also began to identify with the tiny people in the arpillera and compare similar experiences. It was a wonderful lesson, where everyone was energized by what they were seeing and got inspired to make their own arpillera based off their individual neighborhoods.