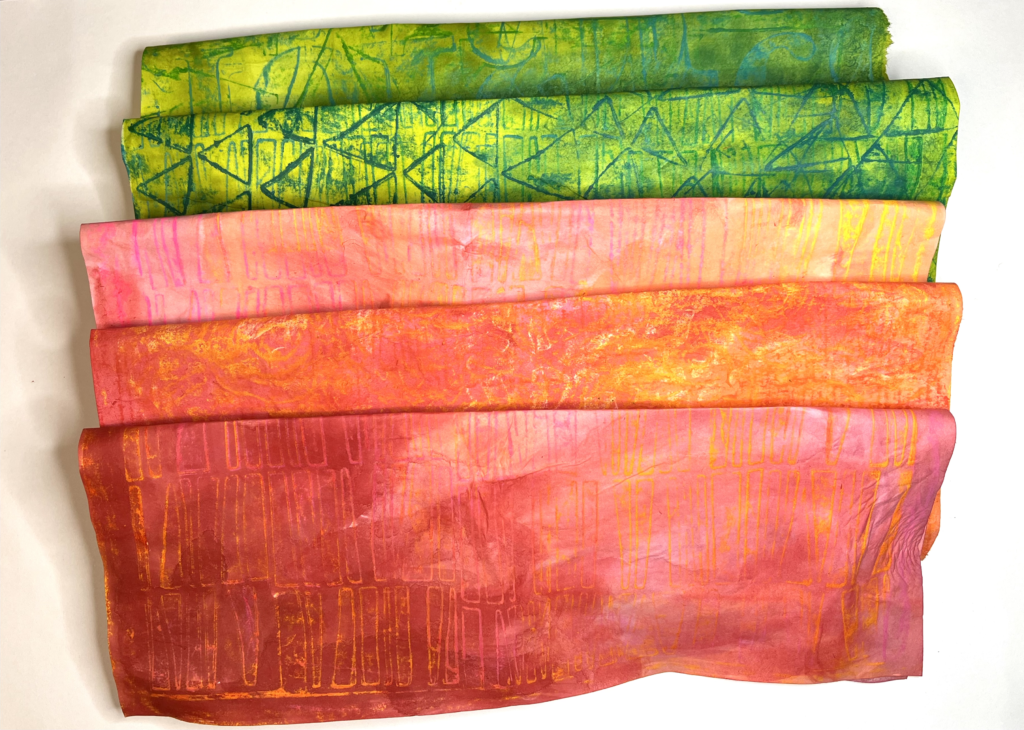
Making your own textured rubbing plates is an easy, cost effective way to introduce young artists to the frottage technique, a term derived from the French verb frotter, which means “to scratch” or “to rub.” In visual art, this technique makes an impression of a surface’s texture by placing a piece of paper over it and rubbing it with a soft pencil or crayon. According to the Tate Museum,
the frottage technique made its debut in art history in 1925, when Surrealist painter, Max Ernst, used pencil rubbings from the grain of an antique wooden floor in his artwork. Ernst published a collection of these drawings, that he felt “suggested mysterious forests with bird-like creatures” in 1926, titled Histoire Naturelle (natural history).
Crayon or oil pastel rubbing is a common technique in children’s art projects. However, in this project, we are making the actual plate to create a rubbing from. The texture plate will be required to dry completely overnight before it’s used.
60 MINUTES | Intermediate/Advanced | Ages 8+
Materials needed:
Dark colored cardstock
Modeling paste or joint compound
Palette knife
Stencils or masks
Wash bin with warm soapy water
Rice paper or thin drawing paper
or deli sheet paper
Wax crayons or oil pastels
Watercolor
Paintbrush
Water to rinse brushes
When working with modeling paste or joint compound it is important to know that either material has a very fast drying time, so you will need to work quickly. Be sure to have all your materials set out, ready for use before beginning this project. Cover your work surface by placing your sheet of dark-colored cardstock on a messy mat to protect the surface of your table or work area.
1) To begin, center the stencil on top of your piece of cardstock.
2) Using a palette knife, scoop out the paste, or joint compound–whichever one you are using–and spread it on top of the stencil as if you were frosting a cake. Be careful not to move the stencil; hold it very securely while you spread the paste across the stencil.
3) Once you have spread a thin, even layer of paste over the entire stencil and paper, carefully remove the stencil by gently lifting it up and away from the design.
4) Immediately place the stencil in a wash bin of warm soapy water. Set the sheet of patterned cardstock, aka your new rubbing plate, aside to dry overnight.
5) Repeat the process to make as many rubbing plates as your heart desires.
I prefer to use a thin but sturdy rice paper for most of my collage work. But when working with children, rice papers tend to be pricey, and they are not something you most likely have laying around the house. I recommend using white, sulphite drawing paper, and cutting the paper to fit the size of your new rubbing plate.
1) Cover your rubbing plate (textured side up) with a sheet of white paper.
2) Using the side of a wax crayon or oil pastel, rub back and forth across the paper with enough pressure to pick up the pattern from the plate underneath. Cover the whole sheet with crayon rubbings.
3) Repeat step 2 with another color. For best results, use analogous colors, or colors that are friendly, and next to each other on the color wheel.
4) Repeat step 2 again, but this time with a different patterned rubbing plate.
5) Once satisfied with the amount of wax rubbings on your paper, remove the rubbing plate and set it aside. Apply watercolor paint, or watered down acrylic paint that is the consistency of heavy cream, over the entire piece of paper. Set aside to dry completely before using in collage artwork or card making.
