1.5 HOURs | ADVANCED | Ages 7+
Materials needed:
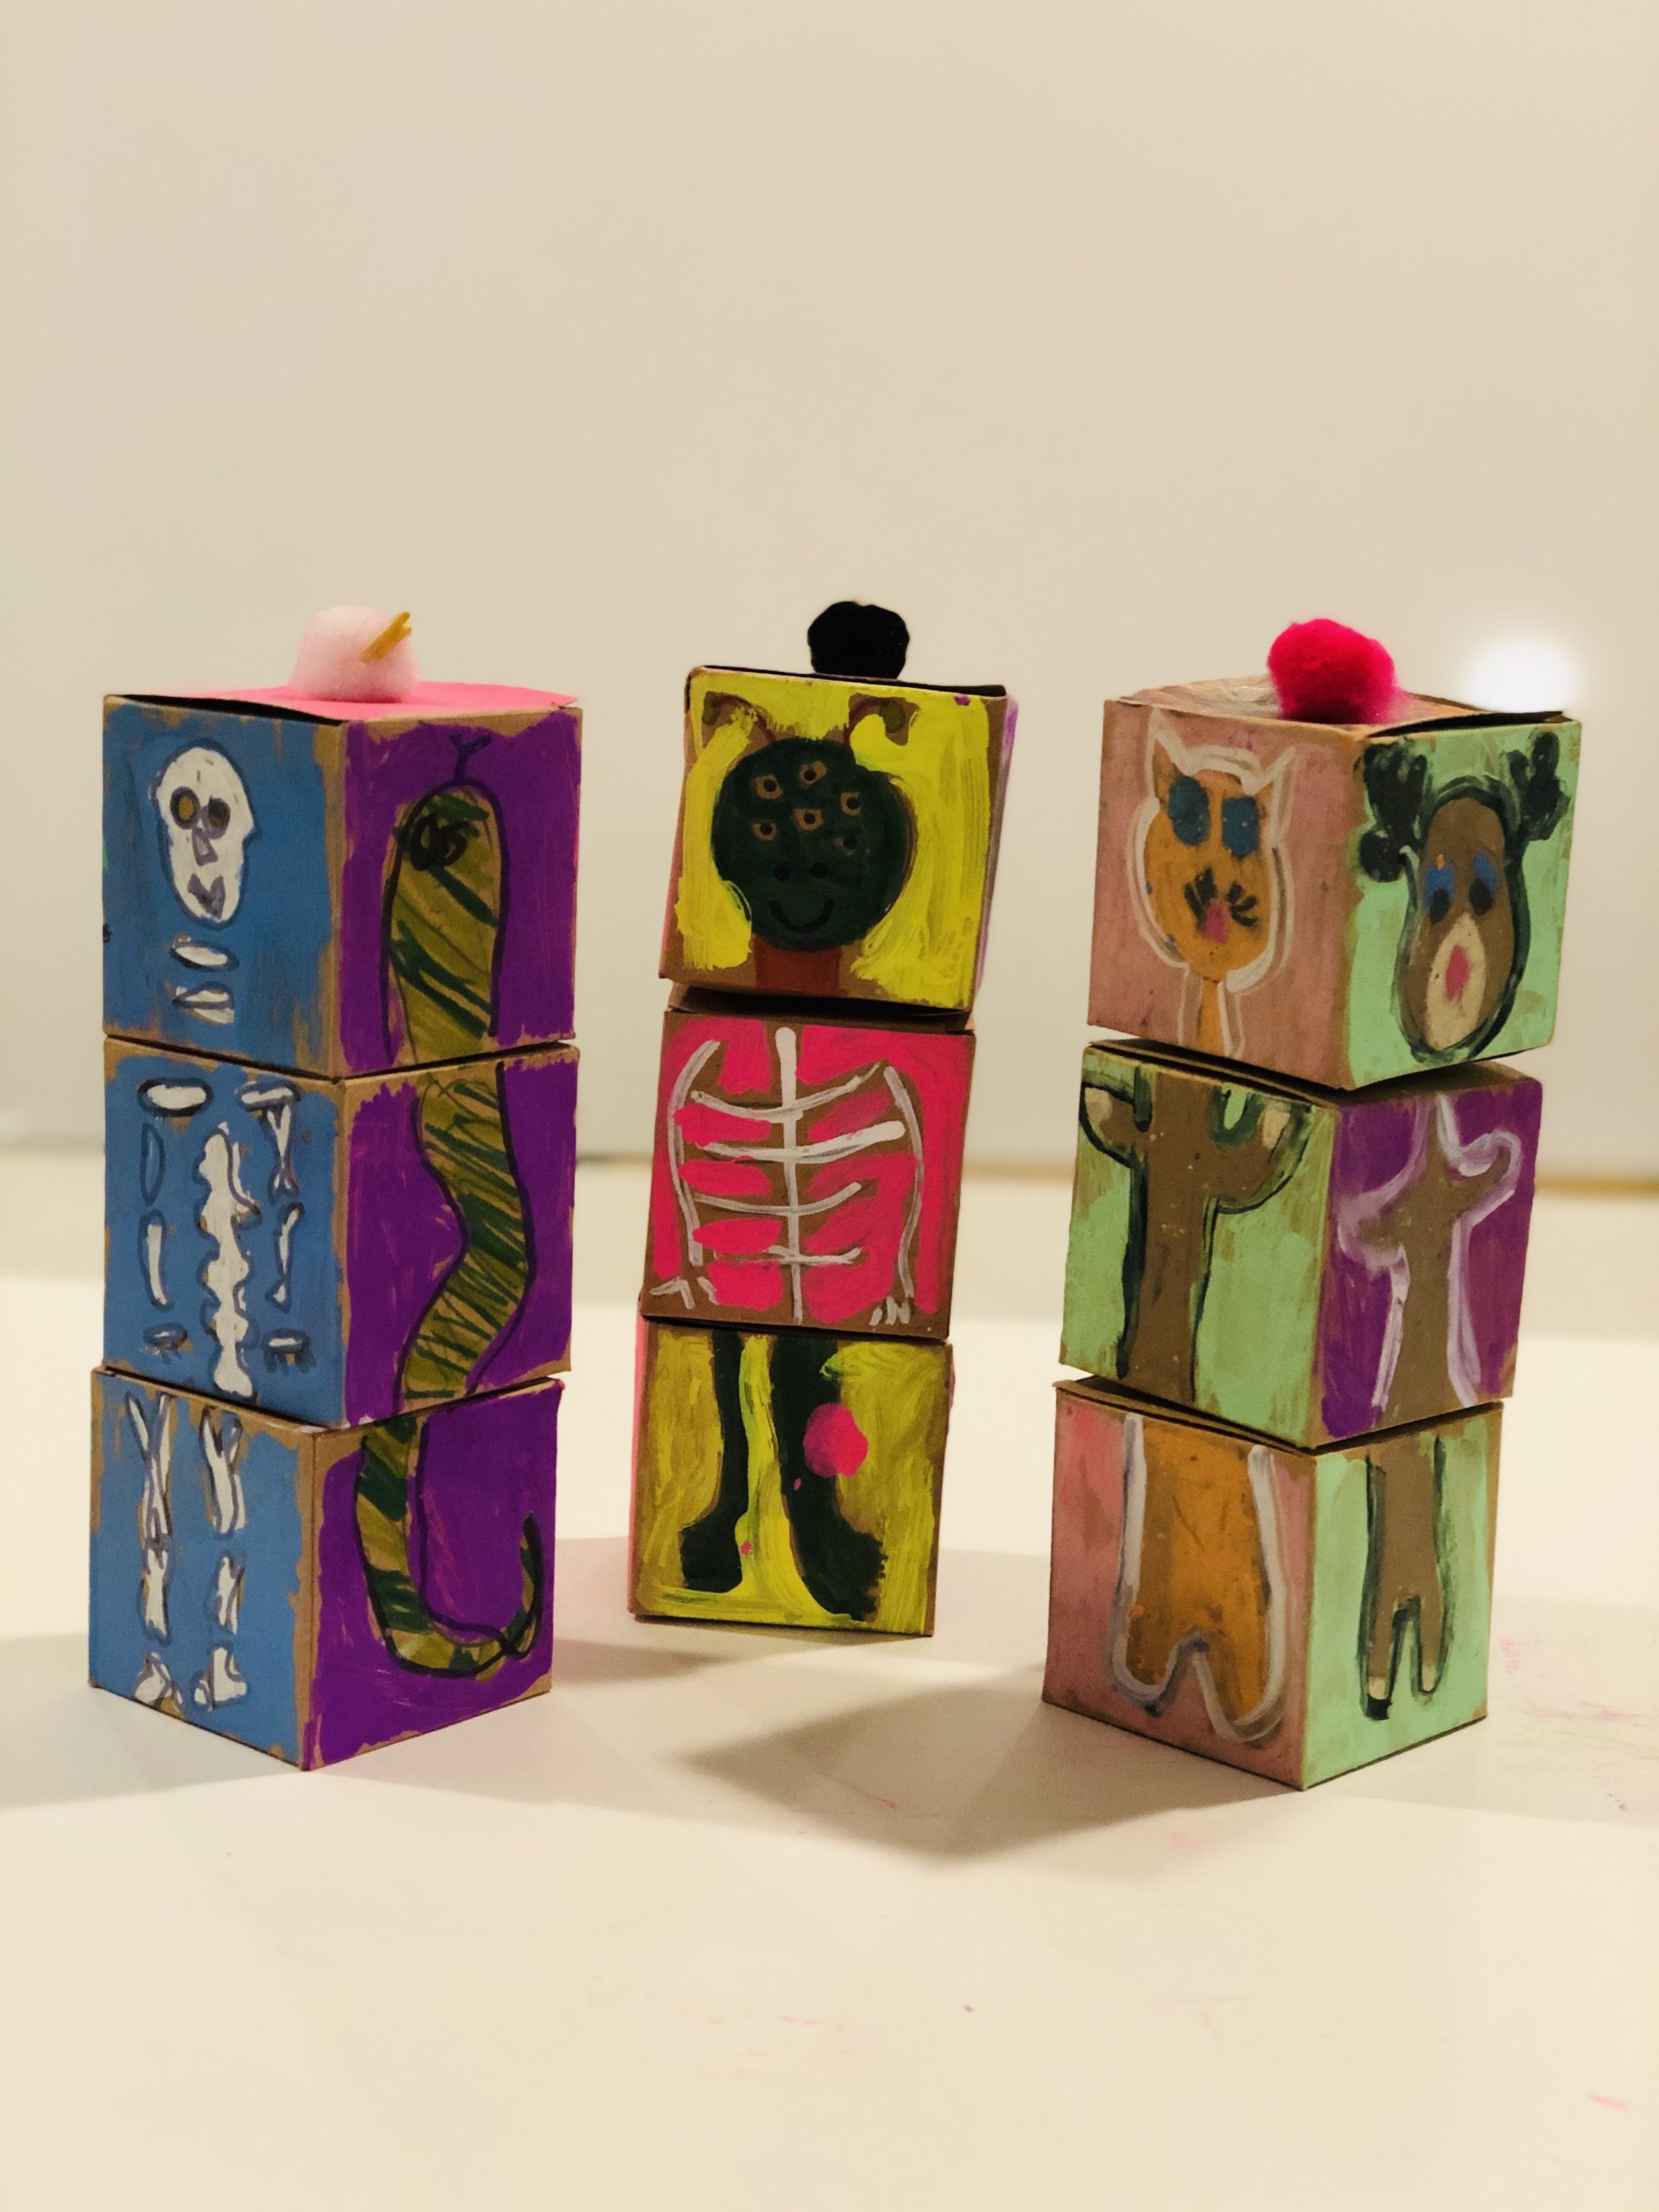
(3) 3″ cardboard cubes, sharpie markers, Posca paint markers, awl, wire, pop pom bead or large wooden bead
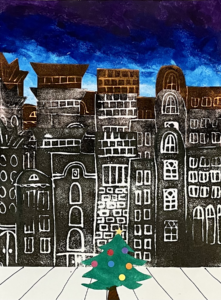
This post is a throwback to a very cool project we did in the Fall of 2019. These little cubed sculptures were part of our “Back-to-Basics” session for the 7-10 yrs. group. Our work focused on three of the Elements of Art: line, shape, and color throughout the session. These mini 3D paper sculptures also include form and contrast to make a well rounded lesson on the principles of art and design. In this final project, artists were encouraged to create imaginary creatures or characters on the eve of Halloween, a holiday that provided us with additional inspiration.
How we did it:
For this project we used (3) 3″ cardboard boxes, wire or pipe cleaners, and a pompom or bead to secure the wire. We used POSCA paint pens, Chalk markers, and Sharpies to decorate the cubes. I have seen this done with bigger boxes, but the minis were a fun hand-held size. This is in no way an original concept that I pulled from my brain. I have seen similar things done on Pinterest and other sites on the Internet. I’ve seen this done with life-size boxes and on wooden cubes. In fact, the book, “Think and Make Like an Artist,” by Claudia Bolt and Eleanor Meredith, presents a similar project in the form of a game for a group of artists, which could be an excellent community-building project.
If you plan to do this with your children, I would encourage them to complete one full character at a time, as a opposed to drawing all the heads, then all the torsos, etc. Instead, remind the kids that there will be a head box, a torso box, and a leg+feet box. They should carefully draw the head, torso and legs on a panel of each corresponding box so they line up correctly when first assembled.
It’s fun to spin the limbs and mix the characters, but it’s also great to see the original figure in its entirety. If the body parts aren’t drawn correctly on each of the three boxes, the spinning it won’t work quite right. Depending on the age of you little artist, you may want to check and make sure they don’t have any feet on a paen of the head box, for example.
Another important thing to consider when designing the characters is the use of attributes. To make a character look unified on separate boxes, artists need to use distinctive features or details that would help identify a particular character. For example, A cat’s scarf may show a bit in the head box, as well as the leg box, and should be colored consistently throughout. Similarly, a characters clothing should tie together on all three panels to identify when the character is spun back to itself.
I assembled the cubes for the children by using an awl to puncture a hole in the top and bottom of each cube, and then threading a wire through all three boxes. The pompom on the top is attached to a wire to prevent the wire from slipping down. The children were able to be as inventive with their characters as they wanted. One child combined his love of MindCraft with Superheroes to make an innovative spinning sculpture.
FOR TEACHERS: Pop art sculptor, Marisol Escobar, could be a wonderful tie-in for a connection with art history.